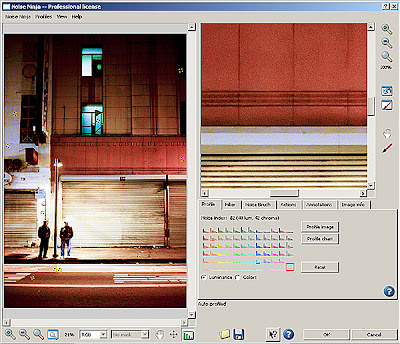
For those that attended the LEVA class in Calgary, you'll remember how easy Noise Ninja was to use on our noisy night shot.
The good folks at Picture Code were gracious enough to let me put the demo installer on the class disc. If you were in Calgary and you didn't get a chance to install Noise Ninja, you'll want to before you work through this exercise. If you weren't in Calgary, click here to download a demo.
For today, we are going to go with the quick way of using Noise Ninja. Next week, we'll get more in-depth with this outstanding plug-in.
The thirty second guide to Noise Ninja
To get immediate results from Noise Ninja, try the following:
- Click on Filter>Picture Code>Noise Ninja. This will bring up the Noise Ninja dialog box.
- Click on the Profile Image button on the Profile page. This will measure the noise in the image.
- Adjust the Luminance Strength slider on the Filter page until you like the results.
- Go to the Noise Brush page. Paint with the brush tool in the Preview window to protect parts of the image from filtering.
- Press the OK button to filter the entire image.
This procedure should yield reasonable results for many images. However, your work flow will probably be more productive and consistent if you learn to use more advanced features like camera profiles, automatic profile loading, and actions; which we'll go over next week.
Bang for the buck factor is quite high with this plug-in; landing it on my Must Have List.
No comments:
Post a Comment