Introducing EasySharp from Pixel Vistas
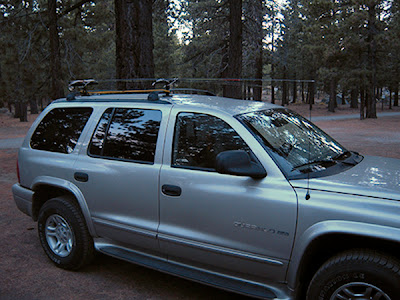
Let's take a look at Rob's fishing trip photo again. Out of the camera, the image is a bit soft. We've taken some initial steps to mitigate the colour cast and remove the noise. Now, we want to do a touch of edge sharpening to really make this image pop out of the screen. This is where EasySharp really stands out.
The what of this step has already been defined by our work flow. We want to do content specific sharpening. The most efficient way to do this, the how, is to employ edge sharpening. Edge sharpening, however, can be a tiresome process. Creating edge masks is its own art form and takes some practice. Luckily for us, there is EasySharp. With EasySharp, you can achieve the benefits of edge sharpening, the how, without the effort.
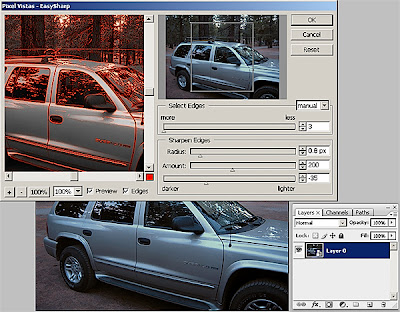
Launch the EasySharp dialog box by clicking Filter>Pixel Vistas>EasySharp. Make sure to check the boxes marked Preview and Edges. In the beginning, you can select Auto from the Select Edges drop down menu. You can also choose More or Less, which add or subtract from the auto selection. With the preview activated, you can see the edge mask being created right before your eyes. For total control, select Manual. Each image will require different settings under this mode. Use the preview and adjust the Amount and Radius sliders until your mask is perfect. Use the Lighter/Darker slider to drive the white/black edges farther away from each other.
Here comes the fun part, the why. Instead of creating and using edge masks, EasySharp "uses an edge-preserving blur filter to extract the edge component of an image. This edge component is then sharpened and recombined with the detail component, resulting in an image which has been selectively sharpened only on its edges. By varying the parameters of the edge-preserving operation, you can easily choose the strength of the edges which are selected for sharpening." This selectivity is the essence of content specific sharpening. EasySharpe makes that selectivity simple and fast.
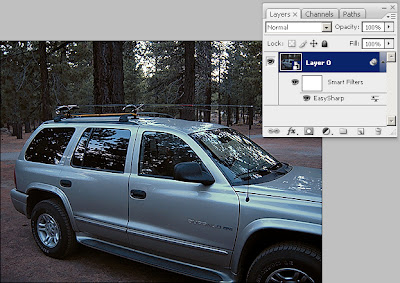
Adding to the fun, EasySharp can be used as a smart filter. It supports 16bpc images and even works in the LAB colour space. If you are used to using the Unsharp Mask filter, EasySharpe is an easy to use and inexpensive alternative which gives you surprising results. Best of all, you can try EasySharp for yourself for free with their 30 day time limited trial. Once you've used it, you can easily justify the $35 expense to make it yours.
Enjoy the day.
No comments:
Post a Comment