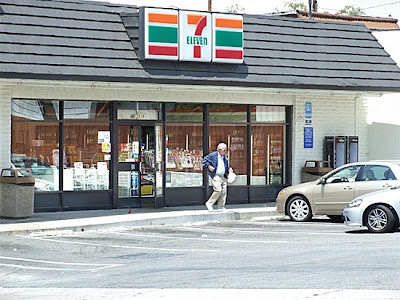
In our example, we see a brightly lit scene in front of a convenience store. Inside the store is visible, but there's room for improvement.

In CS3, you can make exposure adjustments from the Image>Adjustments (destructive) menu or you can choose to create an exposure adjustment layer from the Layers panel (non-destructive).
In CS4, there's been a little rearranging. You can now find the adjustment layer choices clearly displayed in the Adjustments panel. The Exposure adjustment is located in the top row at the far right. Click on it to create your new exposure adjustment layer.
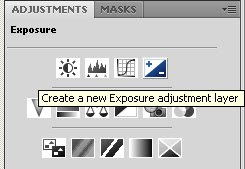
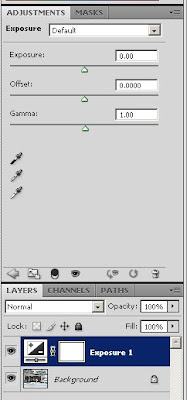
If you were used to making exposure adjustments in Photoshop CS3, the tools aren't much different. The nice thing now is that they are all in the same panel. No more pop-up dialog boxes that you have to drag out of the way.
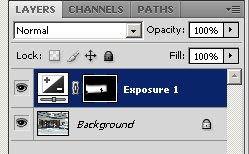
For our example, I just wanted to see more information through the glass store front, but leave the rest of the image untouched. So, I painted with black on the mask to limit the effect to just those areas I was concerned with. In this way, I don't blow-out the whole image and it looks much more realistic.
The nice thing about adjustment layers is that you can always go back and change your settings. If you find that it still prints out a bit dark, bump it up another half stop or so or adjust the gamma - or both.
No comments:
Post a Comment