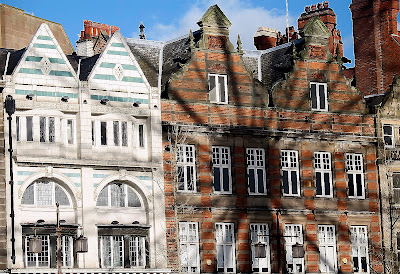
Image>Adjustments>Auto Levels - Auto Levels expands the tonal range (and contrast) by simply "commanding that the darkest pixels shall be black and the lightest ones shall be white." The intermediate pixels are spread over the range in between. There is a slight clipping with the default settings, the first 0.10% of either extreme.
Colour casts can sometimes be corrected with Auto Levels, if the cast is a result of the way brightness values are distributed amongst the channels. The correction takes into account the histograms of the individual channels.
This leads to one of the problems in using Auto Levels. It can create an unwanted shift in colours. If you want to use Auto Levels (Layer>New Adjustment Layer>Levels), change the Blending Mode of the adjustment layer to Luminosity to cancel out the colour shift (if any shift occurs). Conversely, if you want the colour correction without affecting tone, change the Blending Mode of the adjustment layer to Color.
Later versions of Photoshop have opened up the ability to adjust these automatic options. In the Levels dialog box, click on Options.
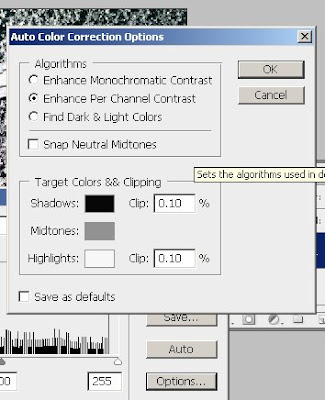
The above graphic represents the default Auto Color Correction Option settings in Photoshop CS3. From top to bottom, here's what the settings mean:
- Enhance Monochromatic Contrast clips all channels in the same fashion. Colour relationships are maintained whilst making highlights appear lighter and shadows appear darker. This is the algorithm used by the Auto Contrast command.
- Enhance Per Channel Contrast maximizes the tonal range in each channel and thus produces a more drastic correction. As each channel is adjusted separately, this option may remove or introduce colour casts. This is the default algorithm used by the Auto Levels command.
- Find Dark & Light Colors identifies the average lightest and darkest pixels and uses them to maximize contrast whilst minimizing clipping. This is the default algorithm used by the Auto Color command.
- Snap Neutral Midtones finds the "average nearly neutral color" in an image and then adjusts the midtone values to make the colour neutral. This is the default algorithm used by the Auto Color command.
- You can change the default clipping values in the Clip boxes.
- To re-assign the target colour values to the darkest, neutral, and lightest areas of an image, click a colour swatch.
- If you want to save these values and use them as your new defaults, check the Save as Defaults box.
A note from Adobe: "When you save the Auto Color Correction options as defaults for Auto Color, Auto Levels, and Auto Contrast, it does not matter what algorithm you select [in the Algorithms section]. The three auto-correction commands use only those values that you set for the target colors and clipping. The only exception is that the Auto Color command also uses the Snap Neutral Midtones option."